
iMessage is basically a speedy messaging application which is developed by Apple Inc. It is actually a service of messaging which is provided from iOS5 and the later models of iPhone.
With the access of the internet, it allows the user to send messages, pictures, documents, videos group messages, and contact information.
iMessage is the development of Apple Inc. so it is totally based upon iOS. But there are people who want to get access to their iMessage from their windows 10.
As it is backed up by the iOS it cannot be directly accessed from windows 10 but for those who want to connect the question is HOW? so, following are the 5 methods to get their iMessage for windows 10
1. Get iMessage For Windows 10 By Using Chrome Remote Desktop
This is one of the ways to get access to iMessage from Windows 10. To get the access you need to follow step by step set of instructions as mentioned below in the context:
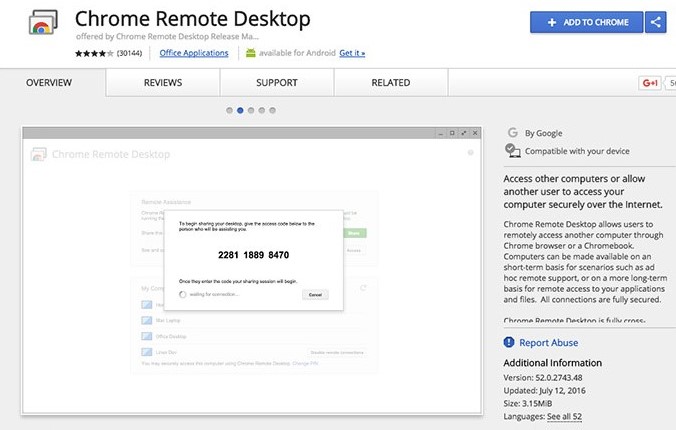
Step 1: First, you need to download the Chrome browser on both of your devices that are on your Windows 10 and as well as on your iOS device, and then install it.
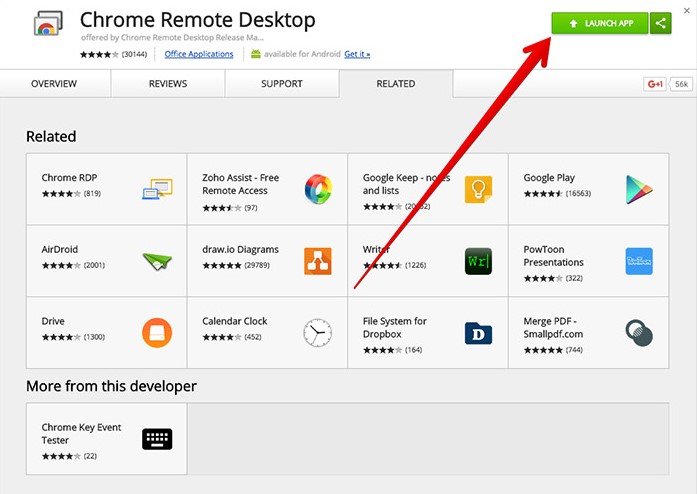
After downloading and installing the Chrome browser now you have to find Chrome Remote Desktop in your iOS and as well as on your Windows 10 after finding the Chrome Remote Desktop download it in both devices.
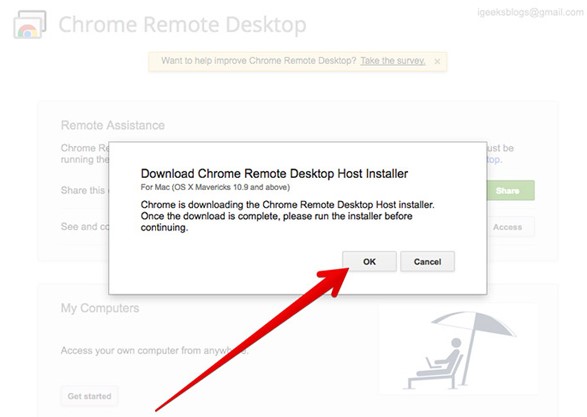
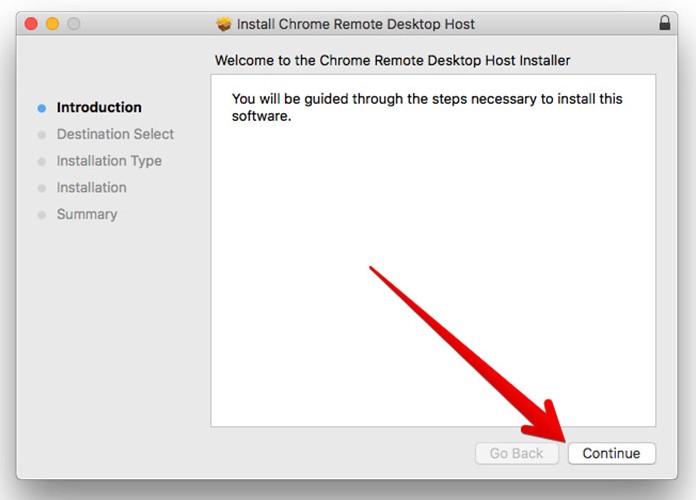
 Step 2: After completing the first step of finding and downloading the Chrome Remote Desktop now in this step you need to download Chrome Remote Host Installer on your iOS and after downloading it now install it in your iOS

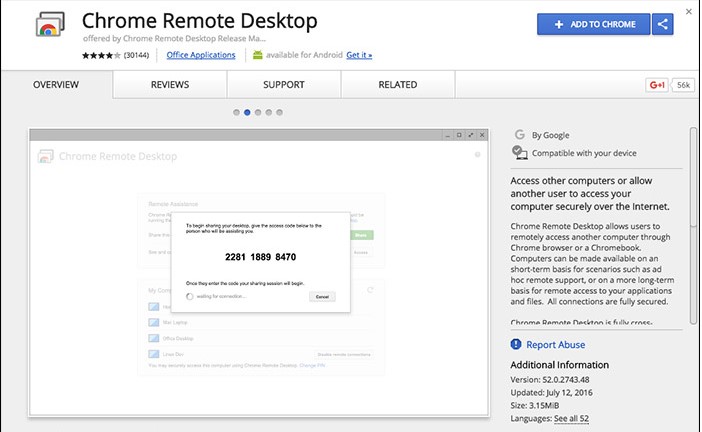
Step 3: After completing the previous step of downloading and installing Chrome Remote Host Installer now you will be able to see a code on your screen. That code is the key to get access of your iMessage to your Windows 10. By using that code, you can get access to your computer of iMessage. After using that code to your Windows 10 now you can use iMessage on your Windows 10.
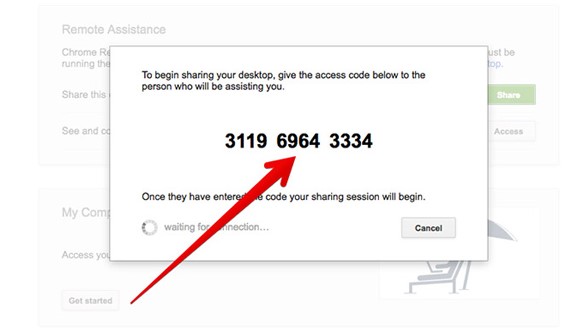
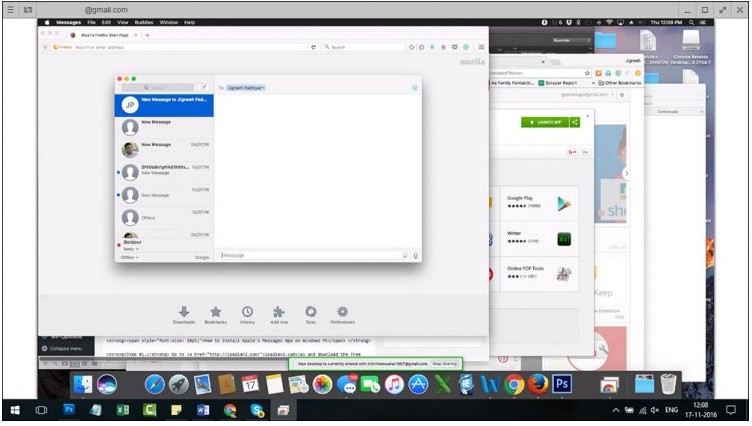
After following all the steps this screen will appear, Now you can use iMessage on your Windows 10
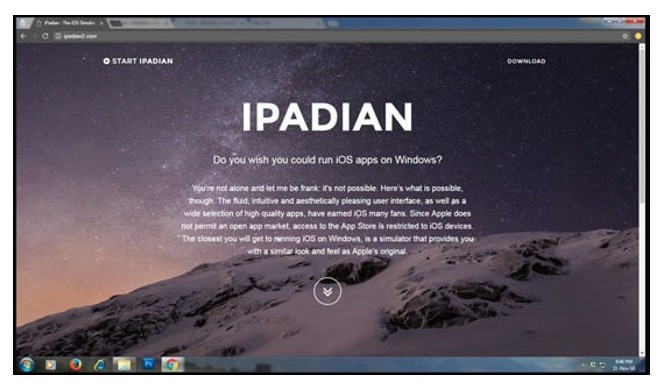
2. Get iMessage On Windows 10 Using iPadian Emulator
iPadian basically a simulator software program for Window XP and other upgraded windows version which lets the Windows UI looks like an iOS interface. It does not make any changes in the computer’s core program and functions. While the iPadian emulator recreates the features and actions of systems.
iPadian emulator is also from one of the ways to use iMessage on Windows 10. To do it through iPadian emulator you need to follow the mentioned steps:
Step 1: Download the iPadian emulator first in your device.
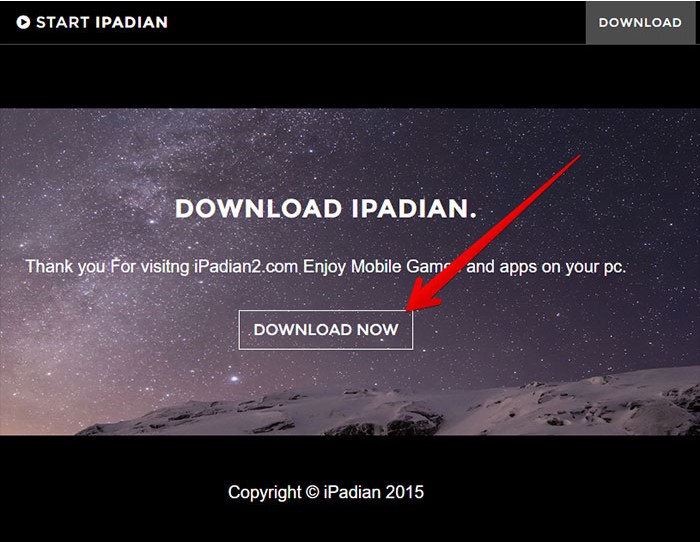 Step 2: After downloading it then you need to install the file in your Windows 10 with a file extension of .exe
Step 3: After downloading and installing now you need to run the iPadian emulator which will show you the terms and conditions.
Step 4: After accepting it your installation will be successfully completed.
Step 5: Now launch the software in your device
Step 6: As the process of application launch is completed now search for iMessage in the search bar.
 Step 7: Download iMessage in your Windows 10
Step 8: Now install the iMessage and enjoy it in your Windows 10.
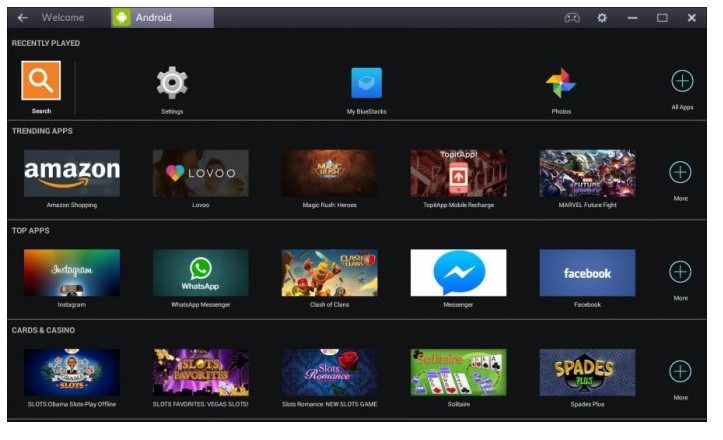
3. Get iMessage For Windows 10 Using Bluestacks

Bluestack is actually a software that lets the user enables to use of any iOS application on their Windows. It is easy to operate interface which lets the user use it easily.
To get iMessage on your Windows 10 you simply need to follow the mentioned below steps
Step 1: First of all, find the application and download the Bluestack for Windows. It is easily available application online
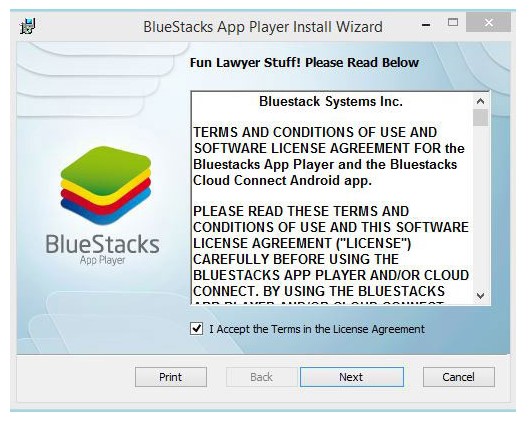
Step 2: After downloading it install the application
Step 3: In the installation process, you need to accept the terms and conditions of the application. Tick at the “I accept the terms in the license agreement” then select the “next” option.
 Step 4: Now the application will launch on your device. The screen will look like this after the installation
 Step 5: From the above screen you will find the iMessage application.
Step 6: After finding the application now download it.
Step 7: For downloading it accept all the terms and conditions mentioned
Step 8: After downloading process is completed now let in install in your device.
Step 9: Now open the application which will appear like this
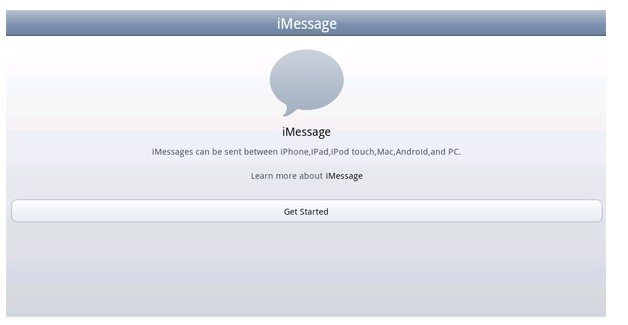 Step 10: Now click on get started and enjoy iMessage on your Windows.
4. Get iMessage On Windows 10 By Jailbreak Your iPhone
This is yet another way to get iMessage on your Windows 10. To jailbreak your iPhone, follow the below steps
Step 1: Go to the storage of your iPhone
Step 2: Make sure that there are no pending updates on your phone because that will harm your phone.
Step 3: Navigate to the settings
Step 4: Go to general
Step 5: Then go to iPhone storage
Step 6: Make sure there are no over the air updates.
Step 7: If over the air updates are present then delete them and if not then go to step 9
Step 8: After deleting over the air updates restart your device
Step 9: Now place your iPhone on airplane mode
Step 10: Do not forget to disable Siri
Step 11: Make sure that your iPhone is fully backed up or it may cause you the loss of your data
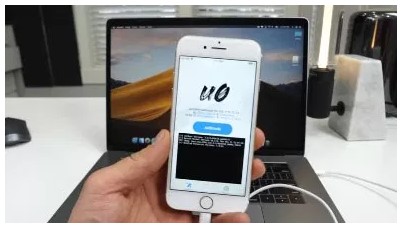
Step 12: Now download the latest version of uncOver IPA
Step 13: Now download and install Cydia Impactor
Step 14: Let uncOver IPA load in your iPhone
Step 15: Then go to settings
Step 16: Click on general
Step 17: Now go to device management
 Step 18: Now trust your uncOver to do its job
Step 19: Now go to your home screen and launch the application of uncOver
Step 20: Now select jailbreak
 After the jailbreak is completed your iPhone will restart. When you get your home screen there will be the icon of Cydia on your home screen.
 For instance, the Cydia icon does not appear then launch the uncOver application again and then again select the jailbreak.
What’s Jailbreaking?
It is a modification in devices. It is basically used to remove the barriers which are built by the manufacturer of that device. It allows the device user to use applications that are not available in the official application store.
It is used to download applications from unknown sources. Jailbreaking is used to expand the features. Devices manufacturers ban applications for the purpose of user’s security and safety. Usually to get access to banned applications by the manufacturer or operator jailbreaking is used.
IMessage on pc without jailbreak
jailbreak allows you to get access to different applications which is banned by the manufacturer or operator. It lets you enjoy different applications you can get access to various applications but it also has some of the drawbacks that include the safety of the user. Security of the user data which can cause loss to the user.
There are many users who do not want to jailbreak their iPhones but also want access to certain applications.
For the people who do not want to jailbreak their iPhones and get access to certain applications, different options are available for them.
For those who want to use iMessage on their Windows 10 but they do not want to jailbreak their phones for their safety purpose some of the options are available for them to select.
- The first option is to use Bluestacks for getting iMessage on their Windows 10

- The second option to getting iMessage on Windows is to use an iPadian emulator.

- The third option available is to use Chrome Remote Desktop.

 The above-mentioned three are the ways to the iMessage on your Windows 10 without jailbreaking your phone which is obvious harm to your safety and security.
5: Access iMessage History On Windows Computer
iMyFone D-Back is the program offered by Apple Inc to recover your iMessage history. This program is really easy to operate no complicated steps are required to run this program.
- Through this program, you can view your existing and as well as deleted iMessage history.
- Your current data will be saved it will not affect your existing data.
- It will help you to view your iMessage data without restoring iTunes or iCloud backup.
- Using this program will help you to not only restore the iMessage data but it will also help you to recover your deleted videos, pictures, WhatsApp history, and many other options are available to recover different things.
- It will also help you to recover your data of iTunes and as well as from iCloud also.
- This is easy to use you only need to connect your device and select the relevant files back up you needed.
- There are three ways to get access to iMessage on Windows computer
The first option to get the history of your iMessage on your Windows is to view existing and deleted iMessage directly
In this option there are some steps needs to be followed to get a history
Step 1: From the window launch the program
Step 2: Now select “Recover from iOS device”
Step 3: Now click on “start”
Step 4: Connect your iPhone to Windows
Step 5: Now click to “next”

Step 6: All you need to recover the history of iMessage so for that click on “messages” from the next window.
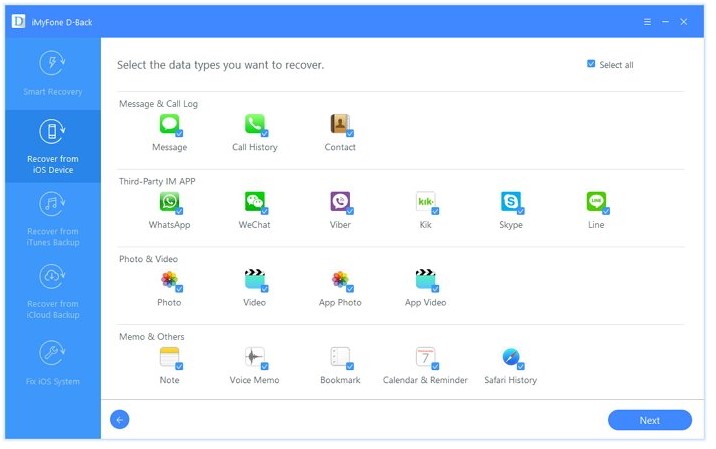
Step 7: After selecting the messages, the program will scan your iPhone for exiting and deleted messages
Step 8: When the scan is done you can see iMessage history on the next screen.
Step 9: Now if you want to save it then click on the things you want to recover.
Step 10: Now save them on your computer.

Second option to recover iMessage on Windows is to view iMessage history from iTunes backup
To get your iMessage through iMessage history from iTunes backup you need to follow the mentioned steps:
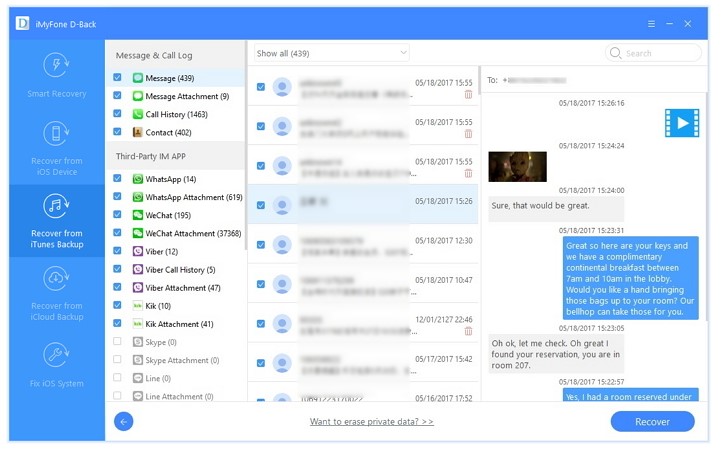
Step 1: Using the same program of iMyFone D-Back go to the main windows
Step 2: Now select “Recover from iTunes Backup”
Step 3: Now select “start” on the screen
Step 4: Now mark the file for iTunes backup in the window
Step 5: Now tap on next.
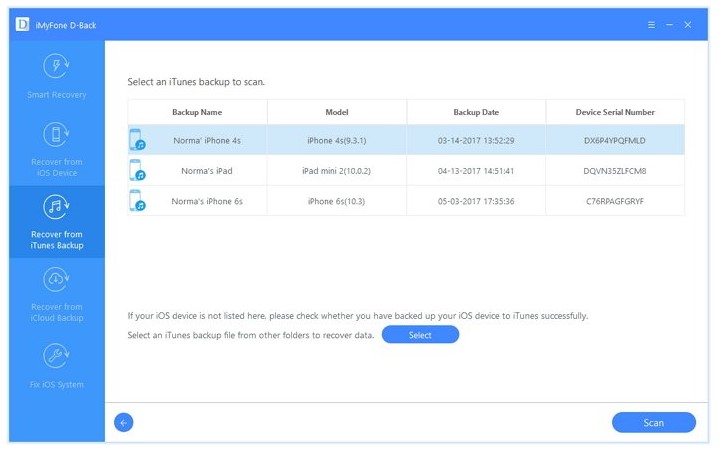
Step 6: Now click on messages on the screen viewed to you
Step 7: And now tap on next.
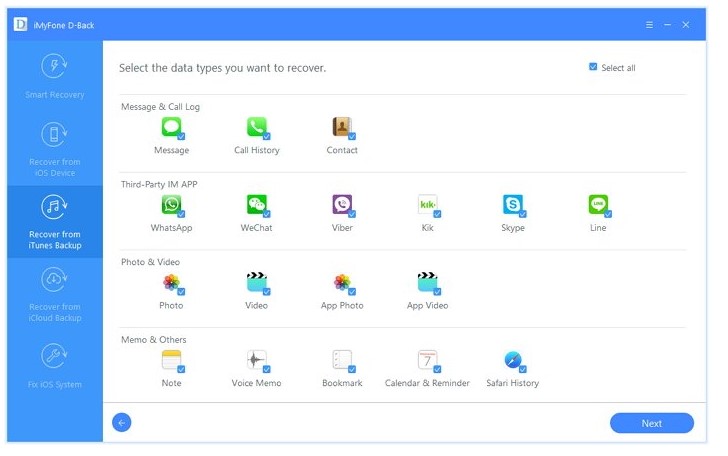 Step 8: Now when the scan is done you will be able to see iMessage history on iTunes back up file.
Step 9: Now select what you need
Step 10: Tap on to recover to save.
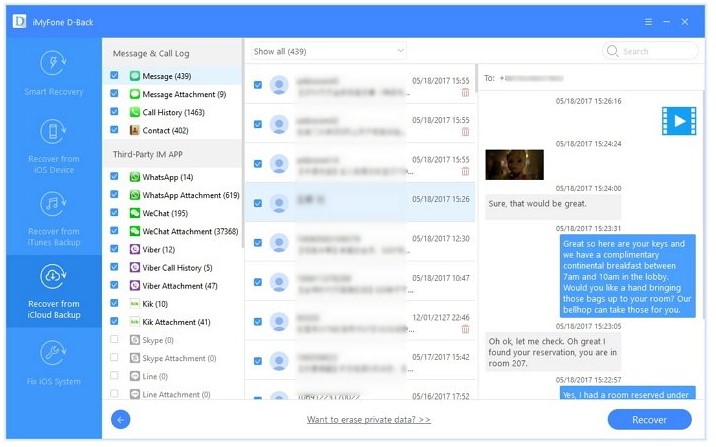
Now for the third option from which you can recover you iMessage history on windows is by viewing iMessage history from iCloud backup. And for this, you need to follow the below-mentioned steps
Step 1: Using the same program of iMyFone D-Back go to the windows
Step 2: Now click on “Recover from iCloud Backup”
Step 3: Then select next
Step 4: After clicking on next now sign in to your account of iCloud
Step 5: Now mark the files you need from iCloud backup
Step 6: Tap on next
 Step 7: Then select the file of message
Step 8: Now click on next.
Step 9: After clicking on next your backup for the message will be downloaded.
Step 10: When the file is fully downloaded from iCloud you will be able to see iMessage.
Step 11: Now click on recovery to save them.
 You can also Read Trend Liff Other Guides Too!